
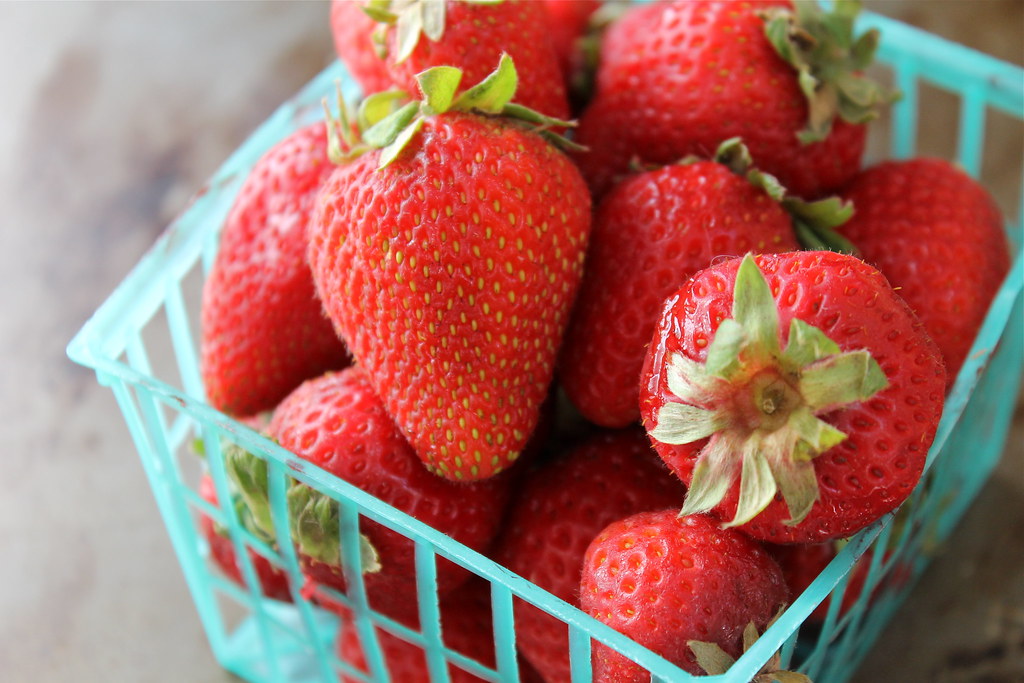
I know it's well and truly summer because stone fruits and tomatoes are in. And if it's summer, it's
Each summer that I've made jam, I've gotten a little more adventurous, and this year I'm actively trying new flavor combinations. This was my first really fun one, and it's a winner.
I've been studying Northwest Edible's flavor chart and thinking up ways of combining fruit with other flavors I like. If you aren't already familiar with Erica's site, I recommend you give it a shot. She has lots to say and to teach, she's often humorous, and never preachy.
Like all of my other jams, this one is pectin free. It relies on the fruit's natural pectin, sugar, and cooking out the juices to firm it up. Keep in mind that if you like really firm jam, you will probably prefer jams made with pectin, but you won't be able to experiment as much, and you also won't be able to use less sugar than what the box tells you. For more information, check out this post by Erica.
.%20It%20is%20so%20easy%20to%20add%20in%20lime%20and%20tequila%20to%20snazz%20up%20strawberry%20jam!%20http://www.katesshortandsweets.com)
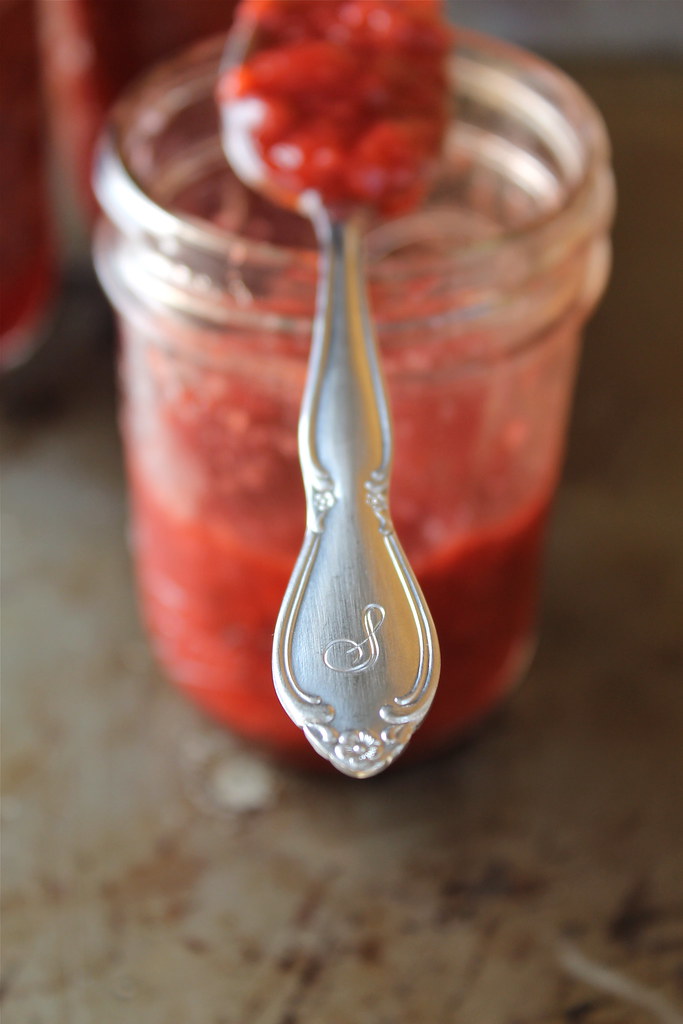
Strawberry Margarita Jam - vegan & gluten free
inspired by Northwest Edible Life
Depending on how much you cook it down, you should get about 4 half-pint (8 ounce) jars using the measurements below. I always like to prepare a 4oz jar as well, so if there's a little left at the end I can preserve it along with the half-pint jars. If you're swimming in strawberries (or tequila), feel free to double, or even triple the recipe, but this is a nice manageable size. You’ll notice that I don’t give a cooking time. That’s because cooking times can vary greatly depending on the width of your pot, the power of your stove, the amount of humidity in the air and even how much rain fell in the days before your fruit was picked. Stay close to the stove as you cook your jam and watch closely for changes. Besides putting it on toast, jam makes a great cake filling and fabulous ice cream.
Just like with any other jam, you can of course skip the processing and just store the jam in the fridge and eat within a month or so.
2 pounds washed and chopped strawberries (weigh after preparing)
4 to 8 oz (a gently rounded ½ to 1 cup) sugar
1 Tbsp freshly squeezed lime juice (required) + 1 tsp or more for extra flavor
¼ tsp – 1 tsp lime zest
1-3 tsp tequila
2 pounds washed and chopped strawberries (weigh after preparing)
4 to 8 oz (a gently rounded ½ to 1 cup) sugar
1 Tbsp freshly squeezed lime juice (required) + 1 tsp or more for extra flavor
¼ tsp – 1 tsp lime zest
1-3 tsp tequila
In a large pot (with only 2lbs of fruit, I was able to use my large saucepan), gently mash berries and 4 oz sugar together. Cover and let stand for 1 hour or more. If I'm cooking it right away, I like to use this time to prepare my jars, lids & tools, get my giant pot of water heating up, clean up and clear off my (very limited) counter space, etc. You're going to be doing a lot of tasting, so make sure you have a bunch of clean spoons ready. If you'd prefer to break up the jam making, you can refrigerate the pot (or a bowl of the fruit+sugar) for up to 24 hours or so. The fruit will just keep releasing its juices, which is what you want anyway.
Prepare jars and lids for standard water bath canning. I don't pretend to be an expert, so if you're new to this, please do your homework! Read this, and also possibly this and many of these. Knowledge is power (botulism free canning for the win!).
If you macerated your fruit in a bowl, pour it into a large pot or large saucepan (the wider the better for faster evaporation).
Bring everything to a simmer. Stir frequently to avoid scorched jam. As your fruit begins to soften, add lime juice (1 tablespoon for every 2 lbs of fruit). Stir in lime zest.
At this point, if you like smoother jams, you'll want to use an immersion blender to break up fruit. I don't have one, so I just use a potato masher/spoon to break up the fruit as much as I feel like. You can make it as chunky or as smooth as you'd like.
With a clean spoon, taste your jam (without burning your tongue, please). Decide if it's sweet enough, and add more sugar if you like. You should also decide if it's lime-y enough. Add in more zest and/or juice if you'd like. Trust your taste buds. If you think it's too tart, add sugar. If not, wonderful, you can move along. Keep tasting until it's the right sweetness for you, but be sure to use a clean spoon every time. Remember that the longer your jam cooks, the more concentrated the flavors will become. Keep stirring frequently.
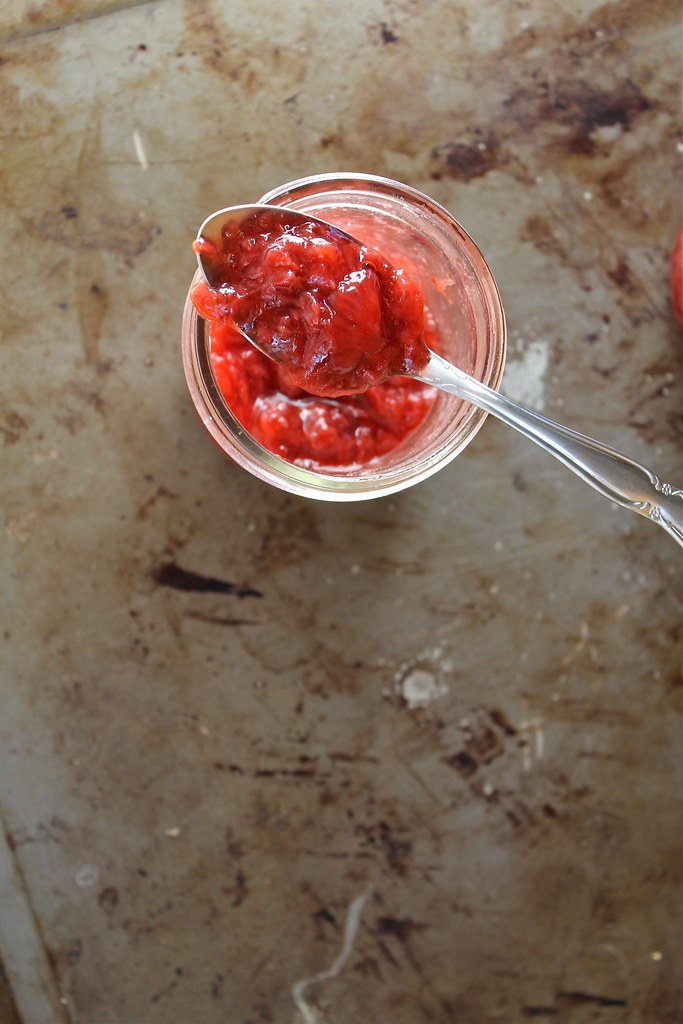
You can test for set (lots of info here) quite easily- when your preserve is "glossy, a bit darkened and looks slightly thickened"scoop a small amount onto a plate (even better if it's been chilled). Run your finger through the jam. If the finger swipe remains visible or only fills in very slowly, the preserve as reached a soft, spoonable set. If you're good with that (I am) you can move on. If you like a firmer jam, keep cooking down your fruit and keep testing for set (clean spoons!!!).
Stir in tequila. Start with 1 teaspoon (you can always add more). Taste. Add in more if you'd like. In this final tasting, make sure the jam is sweet enough, and the whole thing tastes good. Add more of one or more components if needed.
Now it's time to fill your jars! Skim off the foam if necessary, ladle jam into hot, sterilized jars, leaving a 1/4-inch (6mm) head space. Wipe the rims clean and apply lids. Process the jars in a boiling water bath for 10 minutes (full-on boil! simmering doesn't count). Remove jars, and allow to cool on a wire cooling rack or a folded kitchen towel. Listen for the "ping!" of success. When jars are cool enough to touch, check seals. Jam is ready to eat as soon as it is cooled but can also be stored in a cool, dark place for up to a year.
No comments:
Post a Comment